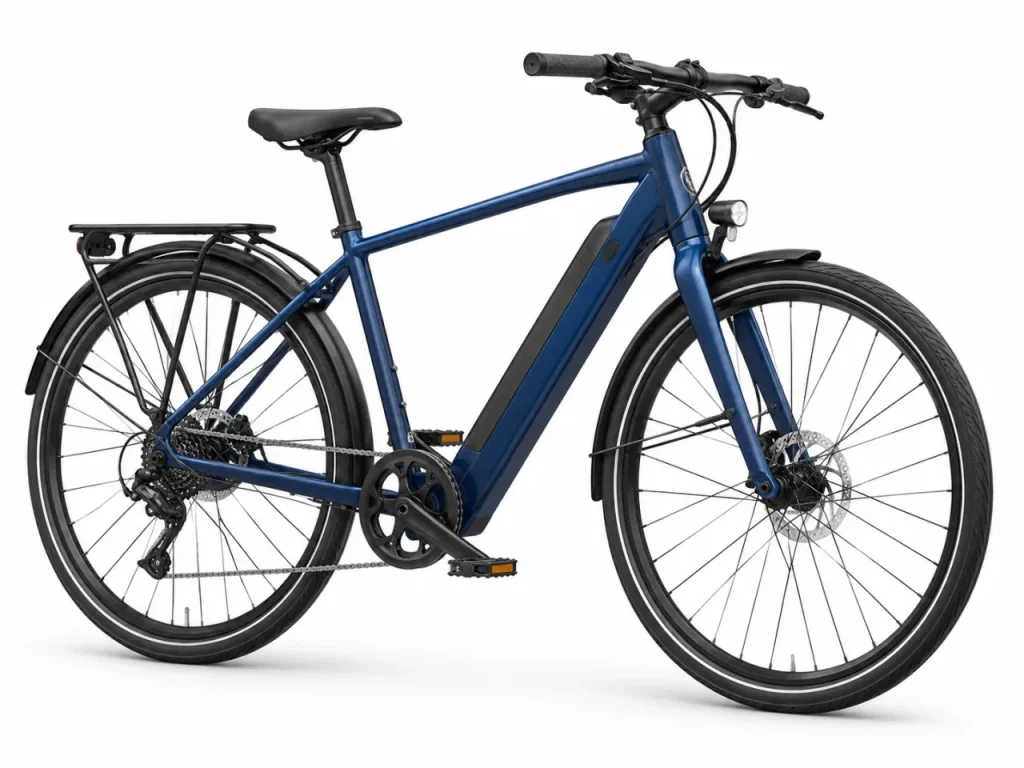
Maintain both halves of an e-bike: the bicycle and its electrical system. Tyres, brakes, wheels and drivetrain still need attention. Battery and connector checks add a second layer, but they do not turn routine maintenance into a reason to open the battery pack.
This checklist is designed for an owner deciding what to inspect, what to record and when to book service. It is not a torque chart or a repair manual. Use the instructions for your bicycle and its fitted components for pressures, adjustment procedures, lubrication and service intervals.
Jump to a section7 sections
Build a record before the first ride
Save the purchase invoice, frame number, battery and charger identification where supplied, manual and warranty terms. Record the approved tyre-pressure guidance, maximum load definition and the dealer’s service schedule. Keep proof of any warranty registration in the same folder.
Take clear reference photographs of the bicycle in its delivered condition. They can help you describe a later concern, but they are not an inspection certificate. Ask the dealer to demonstrate battery removal only if the pack is designed for owner removal. A battery concealed inside a frame tube may require authorized access.
Hero Lectro’s official FAQ recommends periodic tyre checks and directs owners to authorized support for certain battery-access tasks. Its component warranty policy should be read separately from general promotional statements. Follow the terms supplied for the exact model.
Do a short check before riding
- Tyres: look for obvious damage, embedded objects, uneven wear and loss of pressure. Use a suitable gauge and the applicable tyre, rim and bicycle guidance.
- Brakes: check lever feel and controlled stopping in a safe setting. A lever that suddenly travels much farther, a leak or poor braking needs attention before road use.
- Wheels: check that wheels appear correctly seated and secure. If retention is uncertain, have the dealer inspect it; do not guess an axle torque.
- Controls: inspect the display, switches and cables for damage or interference with steering.
- Battery: look for a damaged housing, insecure mounting, unusual heat or a warning message. Do not open it to investigate.
- Visibility: check fitted lights, reflectors and any required signaling equipment.
Listen for a new noise and notice a change in handling. A sound that disappears when assistance is switched off may help describe a fault, but it does not prove which part has failed. Avoid repeated test rides when braking, steering or battery integrity is in doubt.
Clean without forcing water into components
Follow the manual’s cleaning method and turn the system off as instructed. Gentle external cleaning is different from pressure washing a motor, connector or bearing. Keep water away from charging equipment, avoid soaking electrical connections and allow the bicycle to be appropriately dry before charging.
Do not spray lubricant onto brake discs, pads or tyres. A chain drivetrain may need cleaning and a suitable bicycle lubricant, while a belt drivetrain has different requirements. If you are unsure which product or method is appropriate, ask the servicing dealer. “More lubricant” is not a substitute for correct application.
Use cleaning as an opportunity to notice damaged cables, loose-looking accessories, corrosion or frame concerns. Do not cover a crack with paint or keep tightening a slipping component without diagnosing why it moves. Safety-critical fastening and structural concerns belong with a qualified technician.
Make the charger part of the inspection
Use the approved charger and inspect its cable, plug and casing for damage. A connector that becomes unusually hot, discolored or loose should not be treated as normal wear. Stop using the affected equipment and contact the appropriate service provider. Do not bend contacts back, splice a mains cable or use a substitute because the plug fits.
Keep the charging place dry, stable and clear of exits and combustible clutter. Follow the manual’s temperature and storage instructions. There is no universal storage percentage or charging interval suitable for every battery chemistry and control system, so record the guidance for your exact pack rather than copying a social-media rule.
Use a maintenance log that helps diagnosis
| Record | Useful detail |
|---|---|
| Date and distance | Odometer reading or an approximate journey total. |
| Condition | Tyre pressure checked against the applicable specification; visible wear or damage. |
| Symptom | When it occurs, assistance mode, warning text and whether it is repeatable. |
| Work completed | Service invoice, parts used and technician’s findings. |
| Follow-up | The next model-specific service deadline or a recommendation from the workshop. |
Keep battery-performance notes separate from the charge display. A 100% reading means the current charge is full according to the system; it is not proof of original battery capacity. Compare similar routes and conditions before concluding that a change in estimated range represents degradation.
Know the stop-riding signs
Stop and arrange appropriate inspection for impaired brakes, insecure wheels, steering problems, a suspected frame crack, a damaged battery, unusual heat, swelling, smoke or an electrical burning smell. If there is an active fire or immediate danger, move away and contact local emergency services; do not handle the battery or attempt to continue the journey.
Do not open a sealed battery, bypass a protection circuit, modify a speed limiter or install an unapproved pack. A fault code should be documented and assessed through the proper service channel. Clearing it repeatedly without addressing the cause can conceal a problem.
Plan service around use, not a universal calendar
A daily wet-road commuter and an occasionally used dry-weather bicycle face different wear conditions. Start with the manufacturer’s schedule and ask the workshop whether your use requires additional checks. Storage also deserves attention: an unused bicycle can still develop flat tyres, corrosion or a poorly maintained battery.
Our buying guide helps you check local parts support before purchase, while the assistance-mode guide explains the controls you should understand before riding. A maintainable bicycle is one whose correct parts and competent support are actually accessible.
Checked 26 October 2026. This is an owner inspection and record-keeping framework, not a substitute for the bicycle or component service manuals. No hands-on maintenance test is claimed.